Creating a Powerful Course Search and Recommendation Using Elasticsearch I
Contents
- 1 Introduction
- 2 Key Techniques for Course Search
- 3 Step-by-Step Setup of Elasticsearch Using Docker
- 3.1 Prerequisites
- 3.2 Step 1: Pull the Elasticsearch Docker Image
- 3.3 Step 2: Create a Docker Network (Optional)
- 3.4 Step 3: Configure and Run the Elasticsearch Container
- 3.5 Step 4: Accessing Elasticsearch
- 3.6 Step 5: Add Kibana for Visualisation (Optional)
- 3.7 Step 6: Stopping and Removing the Container
- 4 Steps for Database Setup
- 5 What is an Index in Elasticsearch?
- 6 Setting Up a Django Application
- 7 Conclusions
Introduction
In today’s digital age, users expect fast and accurate search results when browsing for online courses. Whether they’re looking for programming tutorials, data science classes, or personal development workshops, the ability to quickly find the right course is crucial for enhancing user satisfaction and engagement.
In this tutorial, we’ll walk you through building a robust course search and recommendation engine using Elasticsearch and Django:
- Explore various search techniques such as fuzzy search, autocomplete, semantic search, and more.
- Discuss their suitability for course search applications.
- Implement a step-by-step example to integrate Elasticsearch with a backend framework like Django.
- Demonstrate how to optimize search results and implement a recommendation system.
Key Techniques for Course Search
To build an effective course search engine, we need to consider various techniques that enhance the search experience. Here are some of the most suitable approaches:
- Fuzzy Search:
- Fuzzy search enables users to find relevant results even when their queries contain typos, spelling errors, or slight variations. This is particularly valuable in educational platforms, where users might not remember exact course titles or spellings.
- For example, a search for “pyton” should still return courses on “Python”.
- Full-Text Search:
- Full-text search allows users to discover courses by searching through descriptions, titles, and other textual content. This approach enables broad discovery, allowing users to locate courses that match their interests even if they don’t have specific keywords in mind.
- Boolean Queries:
- By combining multiple queries with logical operators (AND, OR, NOT), we can refine search results based on criteria like course level (beginner, intermediate) or category (programming, design).
- Proximity Searches:
- Proximity search identifies phrases where specific words appear near each other within the content.
- This is helpful when users search for specific topics, like “data analysis tools,” ensuring results include courses where these words appear together in a meaningful way.
- Vector Search:
- Vector search uses machine learning models to understand the semantic meaning of queries and content.
- Instead of relying solely on keyword matching, this technique uses embeddings (numerical representations of text) to find courses that are contextually and conceptually similar to the query.
- For instance, a query for “web development basics” could match courses covering “HTML and CSS fundamentals.”
- Recommendation Algorithms:
- We can incorporate recommendation algorithms like:
- Collaborative Filtering: This suggests courses based on patterns of user behavior (e.g., ‘People who enrolled in this course also took…’).
- Content-Based Filtering: This recommends courses similar to those the user has previously interacted with, based on attributes like category or difficulty.
- We can incorporate recommendation algorithms like:
Step-by-Step Setup of Elasticsearch Using Docker
To get started, we’ll need an Elasticsearch instance. Docker simplifies this by letting us spin up Elasticsearch quickly on our local machine.
Prerequisites
Before we begin, ensure that we have the following installed on our system:
- Docker: Make sure Docker is installed and running. We can download it from the official Docker website.
Step 1: Pull the Elasticsearch Docker Image
Open the terminal or command prompt and run the following command to pull the official Elasticsearch image from the Elastic Docker registry:
docker pull docker.elastic.co/elasticsearch/elasticsearch-wolfi:9.0.0Step 2: Create a Docker Network (Optional)
While this step is optional, creating a dedicated network for our Elasticsearch container can help manage communication between multiple containers if we plan to use them together (e.g., with Kibana).
docker network create elasticStep 3: Configure and Run the Elasticsearch Container
We can run Elasticsearch directly with a single command. Use the following command to start the container:
docker run -d --name my-elasticsearch-container \
  --network elastic \
  -p 9200:9200 \
  -p 9300:9300 \
  -e "discovery.type=single-node" \
  -e "xpack.security.enabled=false" \
  docker.elastic.co/elasticsearch/elasticsearch-wolfi:9.0.0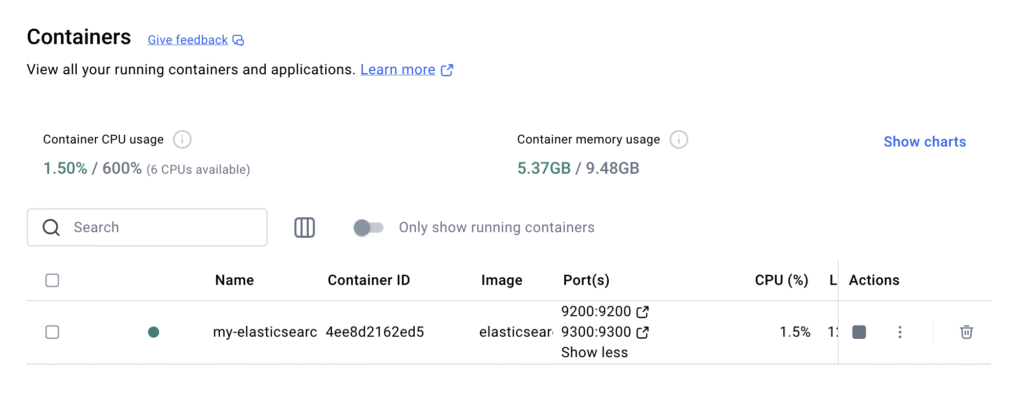
Explanation of Command Options:
-d: Runs the container in detached mode.--name my-elasticsearch-container: Assign a name to the container for easier management.--network elastic: Connects the container to the specified Docker network.-p 9200:9200: Maps port 9200 of the container to port 9200 on your host machine (used for HTTP requests).-p 9300:9300: Maps port 9300 for internal communication between nodes (not essential for single-node setups).-e "discovery.type=single-node": Configures Elasticsearch to run in single-node mode.-e "xpack.security.enabled=false": Disables security features for local development (not recommended for production).
Step 4: Accessing Elasticsearch
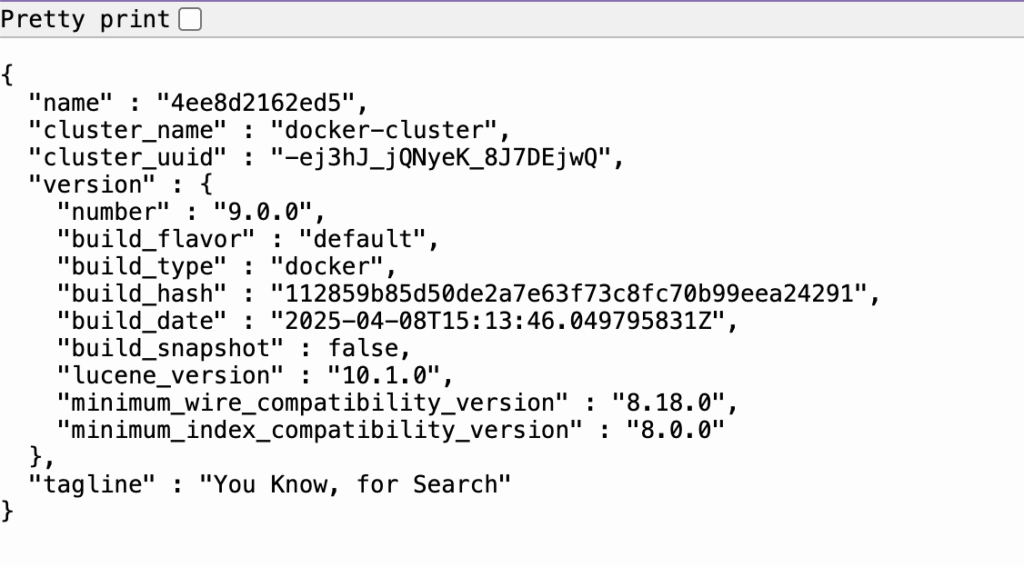
Once the container is running, we can access our Elasticsearch instance by opening a web browser and navigating to:
http://localhost:9200We should see a JSON response indicating that Elasticsearch is up and running.
Step 5: Add Kibana for Visualisation (Optional)
If we want to use Kibana for monitoring and querying Elasticsearch:
docker pull docker.elastic.co/kibana/kibana:8.17.0Start Kibana:
docker run -d --name kibana \
  --network elastic \
  -p 5601:5601 \
  docker.elastic.co/kibana/kibana:8.17.0
Open Kibana in the browser: http://localhost:5601
Step 6: Stopping and Removing the Container
When we’re done with our development session, we can stop and remove the container using the following commands:
docker stop my-elasticsearch-container
docker rm my-elasticsearch-container
Steps for Database Setup
Before configuring the Elasticsearch index, we need a database to act as the source of truth for course data. This allows us to:
- Centralised Course Data: Store details like course names, descriptions, categories, and other metadata.
- Synchronise with Elasticsearch: Import data from the database to Elasticsearch for indexing and querying.
Step 1: Choose a Database
For a course search engine, relational databases like MySQL or PostgreSQL are suitable choices due to their structured query capabilities. NoSQL databases like MongoDB could also work if the data structure is highly flexible.
For simplicity, let’s proceed with MySQL in this guide.
Step 2: Install MySQL
If you don’t already have MySQL installed, you can set it up using Docker:
docker run --name mysql-course-db \
  -e MYSQL_ROOT_PASSWORD=root \
  -e MYSQL_DATABASE=courses_db \
  -e MYSQL_USER=user \
  -e MYSQL_PASSWORD=password \
  -p 3306:3306 \
  -d mysql:latest
This creates a courses_db database with credentials:
- Username:
user - Password:
password
For production environments, ensure you use strong passwords and consider enabling additional security features.
Step 3: Create a Table for Courses
Log in to MySQL to define the course schema:
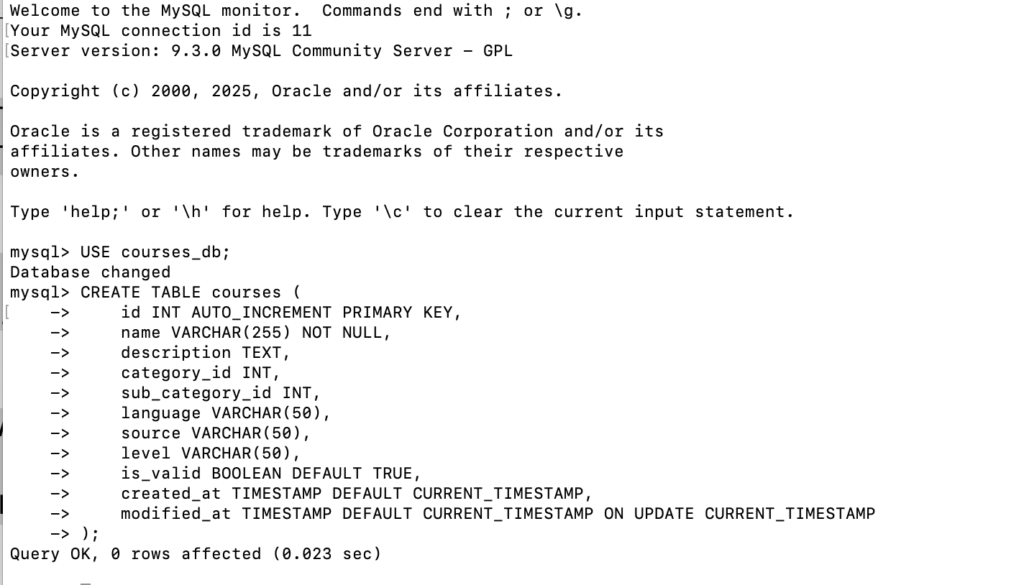
docker exec -it mysql-course-db mysql -u root -pNext, create a table to store course information. Here’s an example SQL statement to create a courses table:
USE courses_db;

CREATE TABLE courses (
    id INT UNSIGNED AUTO_INCREMENT PRIMARY KEY,
    name VARCHAR(255) NOT NULL,
    description TEXT,
    category_id INT,
    sub_category_id INT,
    language VARCHAR(50),
    source VARCHAR(50),
    level VARCHAR(50),
    instructor VARCHAR(150),
    is_valid BOOLEAN DEFAULT TRUE,
    created_at TIMESTAMP DEFAULT CURRENT_TIMESTAMP,
    modified_at TIMESTAMP DEFAULT CURRENT_TIMESTAMP ON UPDATE CURRENT_TIMESTAMP
);
Step 4: Populate the Table with Sample Data
Insert some sample data into the courses table. Here are a few example SQL statements:
INSERT INTO courses (name, description, category_id, sub_category_id, language, source, instructor, level, is_valid) VALUES
('Introduction to Python', 'Learn the basics of Python programming.', 1, 101, 'EN', 'GO', 'John Doe', 'Beginner', TRUE),
('Introduction to Machine Learning', 'Learn the fundamentals of machine learning with practical examples.', 5, 501, 'EN', 'GO', 'Jane Smith', 'Beginner', TRUE),
('Advanced Java', 'Deep dive into Java concepts.', 2, 201, 'EN', 'LINKEDIN', 'Alice Johnson', 'Advanced', TRUE),
('Web Development Bootcamp', 'Become a full-stack web developer in this comprehensive bootcamp.', 1, 101, 'EN', 'GO', 'Bob Brown', 'Beginner', TRUE),
('AWS Cloud Basics', 'Understand the fundamentals of AWS Cloud.', 3, 301, 'EN', 'AWS', 'Carol White', 'Beginner', TRUE),
('Graphic Design 101', 'Basics of graphic design.', 4, 401, 'FR', 'STUDIO', 'David Green', 'Intermediate', FALSE);
Step 5: Grant privileges to your user for the database
Once inside the MySQL shell as root or an admin user:
GRANT ALL PRIVILEGES ON course_db.* TO 'user'@'%';
FLUSH PRIVILEGES;
This command gives all privileges on the courses_db database to user connecting from any host (%).
What is an Index in Elasticsearch?
In Elasticsearch, an index is a data structure used to store, retrieve, and search documents. It’s similar to a table in a relational database. Each index contains a collection of documents, and every document represents a unit of searchable data, often in JSON format.
Key Concepts:
- Index: Like a table in SQL, it groups documents with similar characteristics (e.g., all “course” documents).
- Document: A single record in an index, typically representing one entity (e.g., one course).
- Field: Analogous to a column in SQL, it’s a key-value pair inside a document.
- Mapping: The schema definition for an index. Specifies the field types (e.g.,
text,keyword,integer,date) and behaviours (e.g., analysers for text fields). - Shards: A shard is the smallest unit of storage and allows Elasticsearch to scale horizontally by distributing data across multiple nodes. By default, an index has 1 primary shard and 1 replica shard (can be customised).
- Replicas: Duplicate copies of shards used for high availability and fault tolerance. For example, if your index has 1 primary shard and 1 replica, there will be a total of 2 shards.
Choosing What to Index
When deciding what to index in Elasticsearch, consider the following factors:
- Data Relevance:
- Identify the key entities and attributes that users will search for. For a course search application, relevant fields might include course title, description, category, level, language, and source.
- Query Patterns:
- Analyse how users will query the data. This will help us determine which fields should be indexed for full-text search versus those that may only require exact matches (e.g., categories).
- Field Types:
- Choose appropriate data types for each field based on how we plan to use them in searches. For example:
- Use
textfor fields that require full-text search (like course descriptions). - Use
keywordfor fields that require exact matches or aggregations (like categories). Fields of typekeywordare case-sensitive by default. If you search for"EN"in akeywordfield, it will not match"en"unless the case matches exactly. - Use
integer,booleanfor structured fields.
- Use
- Choose appropriate data types for each field based on how we plan to use them in searches. For example:
- Performance Considerations:
- Keep in mind that indexing large amounts of unnecessary data can impact performance. Focus on indexing only the fields that are essential for your application’s functionality.
What to Index for a Course Search?
For a course search, we should index the most relevant fields that help users find courses easily. Below is a typical structure of what to index:
Suggested Fields for a Course Index:
| Field Name | Data Type | Purpose |
|---|---|---|
id | Keyword | Unique identifier for each course. |
name | Text | Course title, used for keyword searches. |
description | Text | Detailed course description, used for search. |
category_id | Integer | Category of the course, used for filtering. |
sub_category_id | Integer | Sub-category for deeper classification. |
language | Keyword | Language of the course (e.g., EN, FR). |
source | Keyword | Source of the course (e.g., LinkedIn, AWS). |
level | Keyword | Course level, used for filtering. |
is_valid | Boolean | Whether the course is active/published. |
modified_at | Date | The last modified timestamp is used for sorting. |
Setting Up a Django Application
Django provides a robust framework for building web applications, making it an excellent choice for our course search and recommendation engine. Below, I’ll outline how to set up the Django application to connect to the database, fetch course data, and index it into Elasticsearch.
Step 1: Set Up Your Django Project
If you haven’t already, install Django using pip:
pip install djangoCreate a new Django project named course_search:
django-admin startproject course_search
cd course_search
Inside our project, create a new app called courses:
python manage.py startapp coursesOpen settings.py in your course_search directory and add the courses app to the INSTALLED_APPS list:
INSTALLED_APPS = [
    ...
    'courses',
    ...
]
Step 2: Configure Database Settings
In settings.py, configure your database settings. For example, if we are using MySQL, our configuration might look like this:
DATABASES = {
    'default': {
        'ENGINE': 'django.db.backends.mysql',
        'NAME': 'courses_db',
        'USER': 'user',
        'PASSWORD': 'password',
        'HOST': 'localhost',
        'PORT': '3306',
    }
}
Make sure to install the MySQL client for Python:
pip install mysqlclientStep 3: Define the Course Model
In models.py of the courses app, define the Course model that represents the structure of our course data:
from django.db import models

class Course(models.Model):
    name = models.CharField(max_length=255)
    description = models.TextField()
    category_id = models.IntegerField()
    sub_category_id = models.IntegerField()
    language = models.CharField(max_length=50)
    source = models.CharField(max_length=50)
    instructor = models.CharField(max_length=150)
    level = models.CharField(max_length=50, blank=True, null=True)
    is_valid = models.BooleanField(default=True)
    modified_at = models.DateTimeField(auto_now=True)
    created_at = models.DateTimeField(auto_now_add=True)

    class Meta:
        db_table = 'courses'

    def __str__(self):
        return self.name
Register the Course model with admin:
from django.contrib import admin
from .models import Course

admin.site.register(Course)
Step 4: Create and Apply Migrations
Run the following commands to create and apply migrations for our model:
python manage.py makemigrations courses
python manage.py migrate
Step 5: Populate the Database
Add sample courses using the Django admin or a script. To create a superuser:
python manage.py createsuperuserRegister the model in courses/admin.py:
from django.contrib import admin
from .models import Course

admin.site.register(Course)
Run the development server:
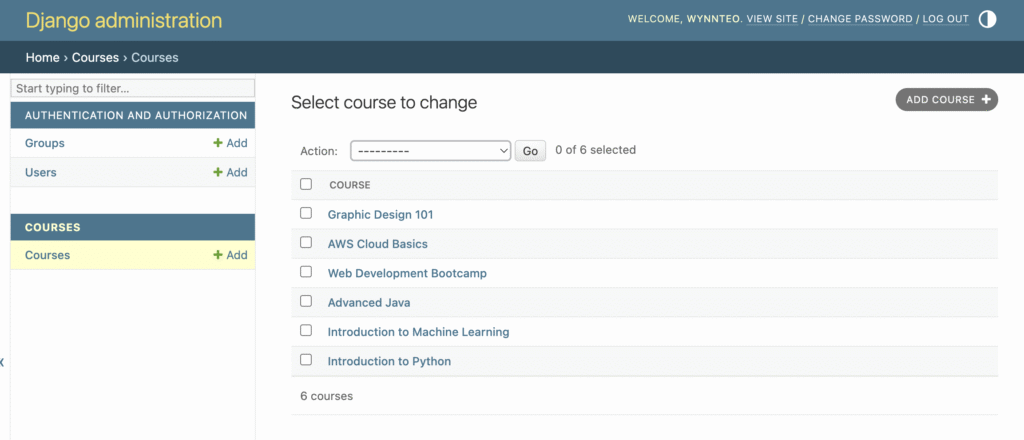
python manage.py runserverAccess the Django admin http://127.0.0.1:8000/admin to add sample courses.
Step 6: Set Up Elasticsearch Integration
We will need an Elasticsearch client library for Python. Install it using pip:
pip install elasticsearchDjango allows us to create custom management commands. Let’s create a command to index the course data. Create a management/commands directory structure in your courses app:
mkdir -p courses/management/commandsNext, let’s create a script named elasticsearch_client.py in courses/management/commands/
from elasticsearch import Elasticsearch

es = Elasticsearch(['http://localhost:9200'])

def index_course(course):
    doc = {
        'name': course.name,
        'description': course.description,
        'category_id': course.category_id,
        'sub_category_id': course.sub_category_id,
        'language': course.language,
        'source': course.source,
        'level': course.level,
        'is_valid': course.is_valid,
        'modified_at': course.modified_at.isoformat(),
    }
    try:
        es.index(index='courses', id=course.id, body=doc)
    except exceptions.ElasticsearchException as e:
        print(f"Failed to index course {course.id}: {e}")
Create a new file named index_courses.py in courses/management/commands/:
from django.core.management.base import BaseCommand
from courses.models import Course
from .elasticsearch_client import es, index_course

class Command(BaseCommand):
    help = 'Index all courses into Elasticsearch'

    def handle(self, *args, **kwargs):
        index_name = 'courses'

        if not es.indices.exists(index=index_name):
            self.stdout.write(f"Creating index: courses")
            es.indices.create(index='courses')

        courses = Course.objects.all()
        for course in courses:
            index_course(course)
            self.stdout.write(self.style.SUCCESS(f'Successfully indexed course: {course.name}'))

        self.stdout.write(self.style.SUCCESS('Successfully indexed all courses'))
Let’s run this command to index all courses:
python manage.py index_coursesOnce data is indexed, we can query Elasticsearch to view the mappings of the courses index using the following HTTP request:
curl -X GET "http://localhost:9200/courses/_mapping?pretty"This will return the field mappings of the courses index in a human-readable format.
{
  "courses" : {
    "mappings" : {
      "properties" : {
        "category_id" : {
          "type" : "long"
        },
        "description" : {
          "type" : "text",
          "fields" : {
            "keyword" : {
              "type" : "keyword",
              "ignore_above" : 256
            }
          }
        },
        "is_valid" : {
          "type" : "boolean"
        },
        "language" : {
          "type" : "text",
          "fields" : {
            "keyword" : {
              "type" : "keyword",
              "ignore_above" : 256
            }
          }
        },
        "level" : {
          "type" : "text",
          "fields" : {
            "keyword" : {
              "type" : "keyword",
              "ignore_above" : 256
            }
          }
        },
        "modified_at" : {
          "type" : "date"
        },
        "name" : {
          "type" : "text",
          "fields" : {
            "keyword" : {
              "type" : "keyword",
              "ignore_above" : 256
            }
          }
        },
        "source" : {
          "type" : "text",
          "fields" : {
            "keyword" : {
              "type" : "keyword",
              "ignore_above" : 256
            }
          }
        },
        "sub_category_id" : {
          "type" : "long"
        }
      }
    }
  }
}
To query the courses index, use the _search endpoint. For example:
curl -X GET "http://localhost:9200/courses/_search?pretty" -H 'Content-Type: application/json' -d'
{
  "query": {
    "match_all": {}
  }
}'
Searching for a course by name:
curl -X GET "http://localhost:9200/courses/_search?pretty" -H 'Content-Type: application/json' -d'
{
  "query": {
    "match": {
      "name": "Python"
    }
  }
}'
Conclusions
With the Django model and indexing logic updated to reflect the new database schema, we’re now ready to continue building our course search and recommendation engine.
In the next tutorial, we’ll implement search functionalities using Elasticsearch and create views to display search results on a web interface. Stay tuned as we continue developing this application!
For the full source code, please visit the GitHub repository.
Share this content:
Leave a Comment